
The process behind the making: featuring our most recent sapphire bespoke ring
September is Sapphire month, and in this post we are taking you through the process behind the making of our most recent custom-made sapphire rings.
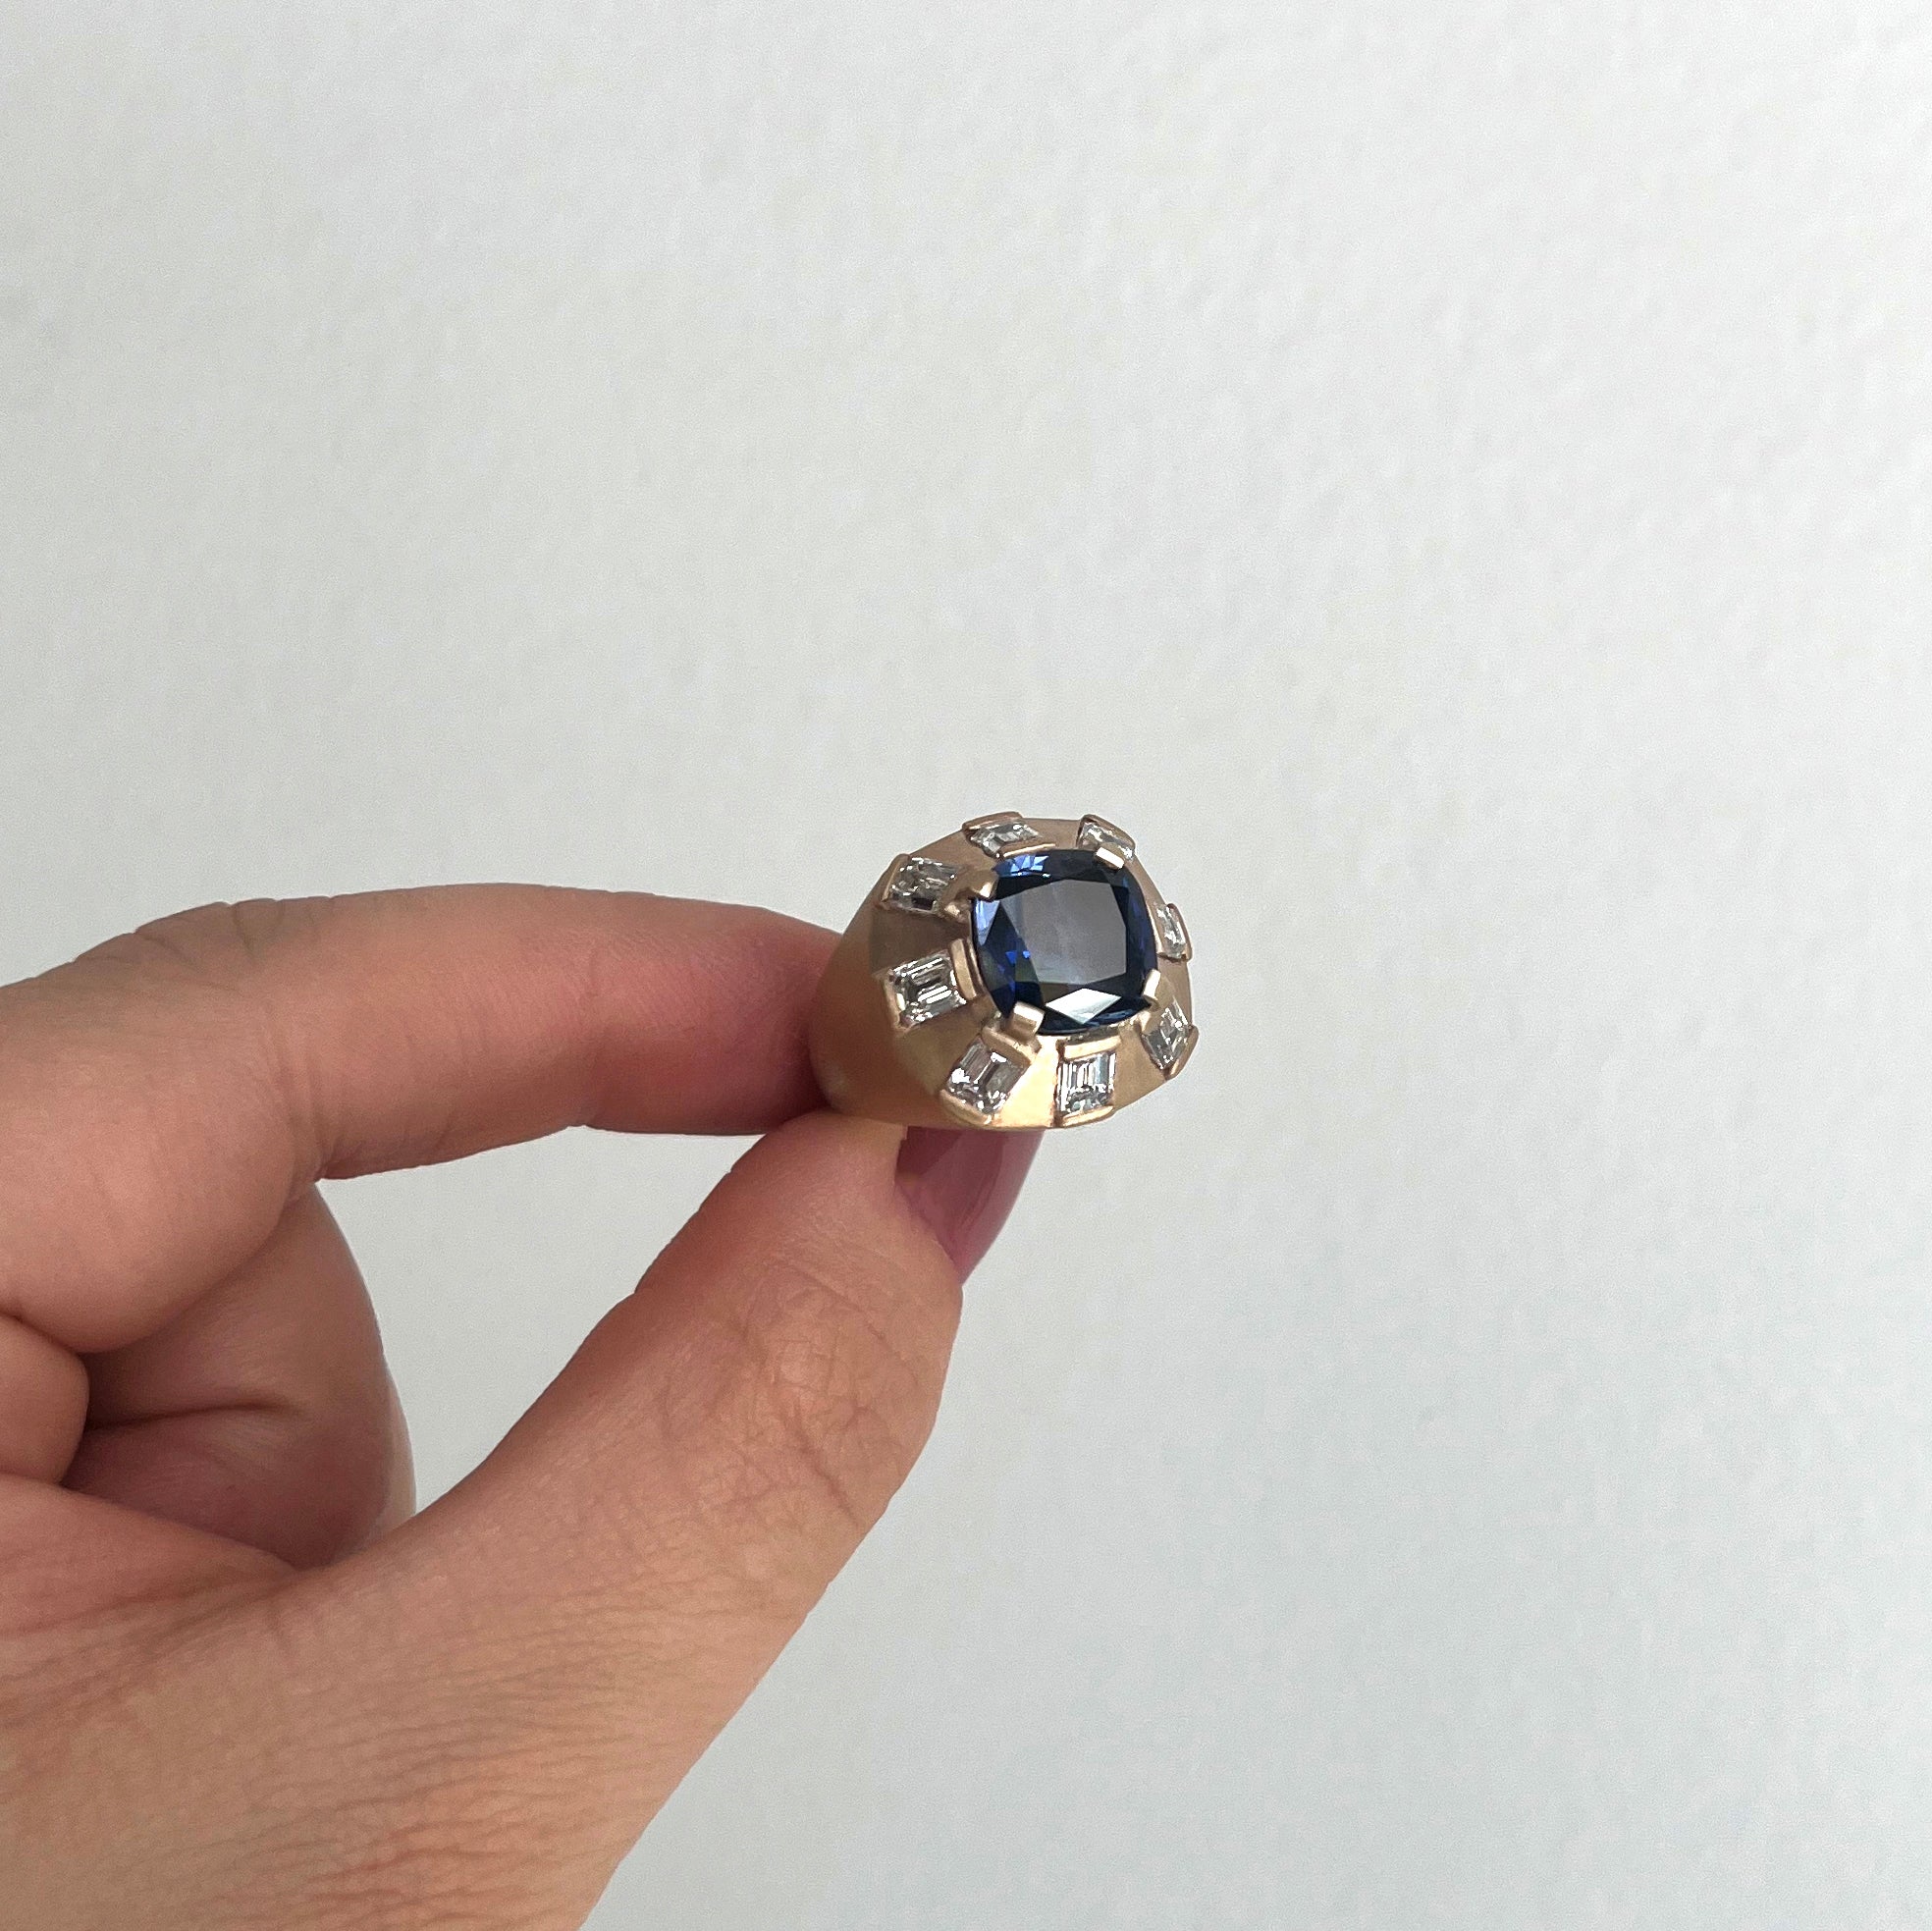
The stone
Our client brought us this very special sapphire, which was a family heirloom that she wanted to repurpose and turn into a new piece.
Step 1
Our team made sure the ring's design was accurate using 3D modeling and rendering.


Step 2
We printed the design on a 3D printer, scaled it, and made a few design improvements. We printed several resin prototypes until the proportions and design details were exactly the way we wanted.


Step 3
The next step was to make a plaster mold using the 3D model in wax resin.

Step 4
After the plaster set, we made the cast. There were a few errors so we had to try a few times until we had 'the one'. This sometimes happens due to factors that we cannot control, such as the weather, variations in temperature, or the exact composition of the alloy.
This was our first attempt:

This was our second attempt:

Step 5
Once the cast came out of the furnace without any major details, all residual metal was removed and we started working on the finer details.

Step 6
We soldered the prongs that would hold the central gem and mounted each gem one by one. The diamonds also belonged to our client.

Step 7
Every detail was touched up again, and we made sure that all the gemstones were well mounted.

Step 8
We then engraved the ring and polished the piece. The client asked for a matte finish, so we used special blanket that gently scratches the metal.

All of our pieces are made in Mexico by skilled artisans. None of our pieces are mass produced, and we work closely with clients to make sure all designs meet their expectations. To commission a bespoke piece please contact us at info@paar.mx or book a call or physical appointment here.

